

Make your SSD Performance tests easy as one-two-three. Talking about numbers – read the third part of our SSD series! In this article we’re raising the issue of testing the performance, what does it mean to purge the SSD and why it is necessary to run preconditioning, as well as what follows the preconditioning.
In case you somehow missed the previous parts, you can catch up here:
- Basics of SSD Performance Tests [1]: Recap on flash memory
- Basics of SSD Performance Tests [2]: Garbage collection
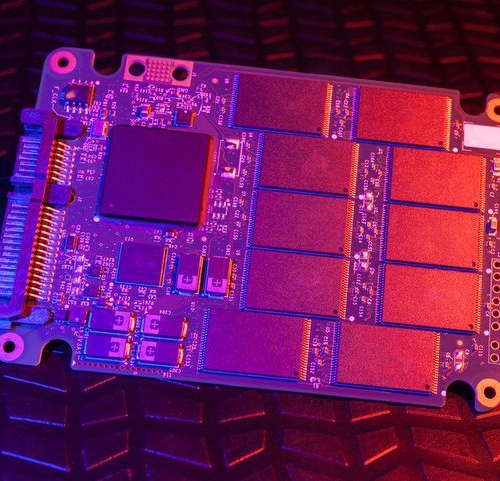
Test the SSD performance
As I explained in the previous articles of this series, SSDs will show different performance levels, depending on the write history. When an SSD has some free pages, it can operate faster because it doesn’t have to perform the garbage collection. If tests are performed on a device that is brand-new (fresh from the box – with all pages clear), performance results will be much better. Moreover, the exact garbage collection algorithms and SSD controller management of flash memory is known only to the manufacturers. This makes it hard to say how a particular product will behave without detailed tests. It also means that it isn’t sufficient to simply write some data to the SSD and then perform tests because we never know the internal state of the flash memory, and also how the whole device will behave. In that case, all differences in write history may produce different test results. Because of that, it is important to perform tests of different devices applying same workload to those SSDs.
The Storage Networking Industry Association (SNIA) is an organization that develops various standards for the storage industry. One of them is the Solid State Storage (SSS) Performance Test Specification (PTS). This specification describes how particular performance tests of SSDs have to be performed in order to produce reliable results. There are step-by-step descriptions for tests such as random read and write, sequential read and write and more. This specification is referred to in many test results, including those performed by leading technology magazines such as Tom’s Hardware. I won’t repeatall of the test specifications here, not only because they would be way too long for a single article but it might also look a bit complicated (it actually isn’t that complicated, so I encourage you to take a look there, too). What I would like to describe here are the stages that an SSD drive has to get through during any performance test. All of those stages have to be performed for each separate test in order to make it reliable and comparable.
Purge and preconditioning
Before a particular performance test is done, the SSD has to be purged which means that it needs to be put into a state that is as close as possible to its state when it was fresh out of the box. The purge step may be skipped when the first test is performed on a brand new device that hasn’t been used before. In order to purge the SSD, we can use software that will send special commands to the device such as: ATA SECURITY ERASE (for example by using hdparm on Linux), SCSI FORMAT UNIT, or use some vendor-specific tools and software.
When the SSD is purged, it is necessary to run preconditioning before running actual tests. Preconditioning is a process of applying workload to an SSD in order to move it from the initial fresh-out-of-the-box state to a state where the real performance of device is. This process is the most time-consuming because it requires to apply workload to the device several times. It is required to measure the performance of the SSD each time and observe how it changes. This process has to be repeated until performance results get into stable state where the following repetitions of the test don’t fluctuate too much. SNIA defines a particular pattern to calculate if the disk performance is stable, but in general it is a state where performance fluctuations are not large from test to test. Usually it can be observed that a disk starts to behave a bit faster and then slower in following tests. If this pattern repeats itself, the SSD is ready for a particular test to be performed on it. It’s important that each preconditioning test has to be run one after another without breaks in order to avoid any background garbage collection that may affect the preconditioning.
Steady state
The SSD is in a steady state after performing preconditioning on it. As stated in the previous paragraph, the device – after applying a similar workload to it over and over again – starts providing very similar results in each test. At this point, the SSD is ready to perform have the actual performance test done on it. The test is supposed to be performed without a break after the preconditioning stage in order to avoid the background garbage collection that may affect the test results (unless you’re 100% sure that a particular SSD doesn’t perform a background garbage collection). The results from this performance test can be used to describe the real SSD performance and can be used to compare this device with others.
There’s one more article ahead of us! Stay tuned for the final part.


1 Comment
Essay /
11, 03 2018 11:19:152 sticks, and then the phenomenally powerful 900P series SSDs. Smaller manufacturers like Adata, Crucial, SanDisk, Silicon Power, Transcend, Western Digital meanwhile are sticking to their philosophy of offering budget SSDs at affordable price points.