A short step-by-step manual: How to install and use VMware with VMotion in cooperation with Open-E DSS V6. The "Drag and drop" solution for virtual machines and clusters.
What you need to have:
- one server with Windows - strong enough to install VServer with MSSQL database;
- two servers with 2 NIC`s with same shared storage (we recommend Open-E DSS V6 software);
- a VMware Essential plus license;
- Open-E DSS V6 - the storage software.
What you need to know:
ESX is a VMware computer virtualization software product. It is based on its own kernel and service console (which is modified Red Hat Linux). The main differences between ESX and ESXi are based on a license (free licence for ESXi Single) and various functionalities - i.e.: service console (there is no service console in VMware ESXi - Embedded and Installable versions).
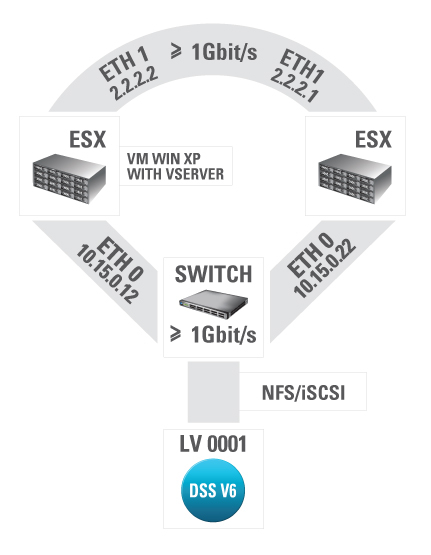
What is important:
- with either ESX, there is need to use the same storage - for each of them;
- a VMware Essential plus license has to cover both - the first and second ESX;
- When using a server with Windows - as above - it has to be strong enough to install VServer with MSSQL database. In this case, one of the ESXs may be used.
How-to:
- During the installation of ESXs there is the need to enter a proper serial number. It can be done at the beginning or at the end of the installation (of VSphere on server with Windows).
- After the installation of VSphere and after connecting to it, a datacenter should be created (1).
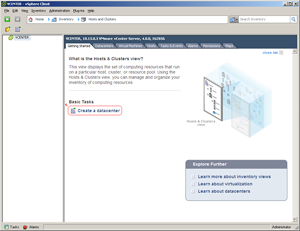 Click to enlarge.
- Now it is possible to add a host (ESX) - for the datacenter (1)
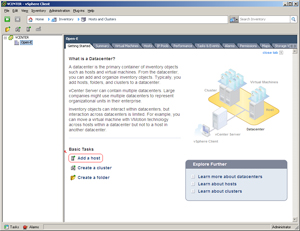 Click to enlarge.
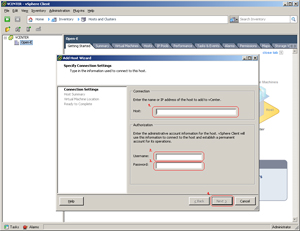
- Enter an IP address (1), login (2) and password (3) - those are the data passed during the installation of ESX.
 Click to enlarge.
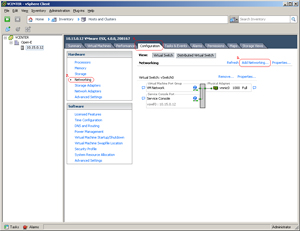
- Now is the time for VMotion configuration (1) - then follow the next steps (2, 3).
 Click to enlarge.
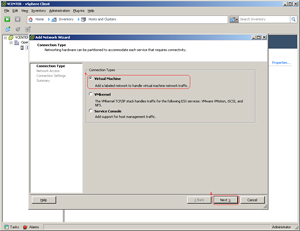
- Add a labeled network to handle virtual-machine network traffic (1).
 Click to enlarge.
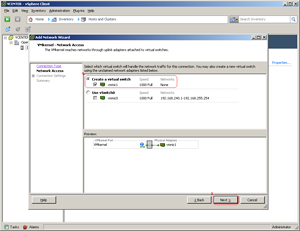
- ... And create the virtual switch (1).
 Click to enlarge.
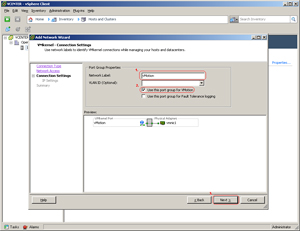
- Enter the Port group Properties. Remember, it is important to set the same Network Label (1) as on the second ESX (note it). Use of this port group for VMotion is a must (2).
 Click to enlarge.
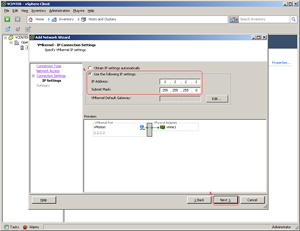
- IP settings (1) are the ESX's IP settings for VMotion.
 Click to enlarge.
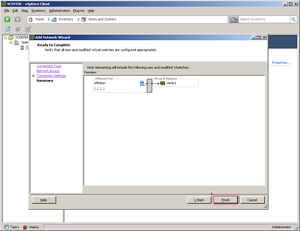
- Now is the time for verification.
 Click to enlarge.
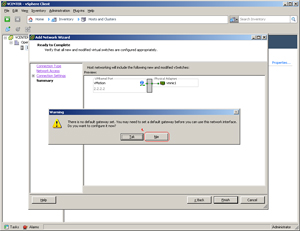
- If there is no need to use a different network localization for your ESX, there is also no need to set up a gateway (1).
 Click to enlarge.
- Check the summary - VMotion must be enabled (1) at this point.
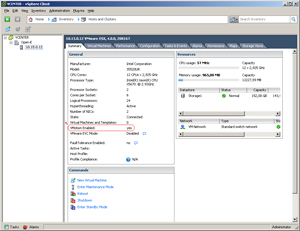 Click to enlarge.
- That's it! ... Now is the time to set up the second ESX. The process of its installation is the same as the first ESX - you can go back to Step 2.
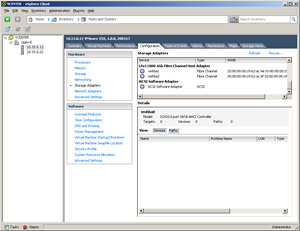 Click to enlarge.
- After both installations (both ESXs) are done, there is the need to add a common storage.
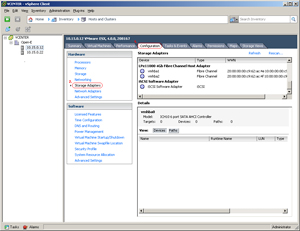 Click to enlarge.
- Common storage can be Failsystem NFS, iSCSI or FC. After the installation of the two ESXs and proper configuration, it is the time to create a cluster (1).
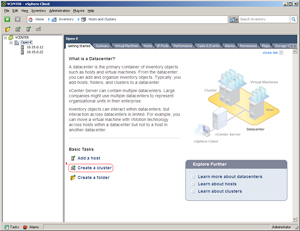 Click to enlarge.
- You can call it whatever you want (1).
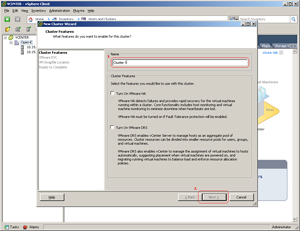 Click to enlarge.
- Disable EVC and go to the next step (1).
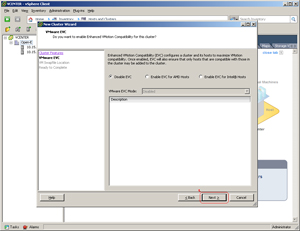 Click to enlarge.
- You can store the swap file in the same directory as the virtual machine (1), or in the datastore specified by the host. The first option is recommended. In the case of the second one there is a possibility of slower performance. The choice is yours.
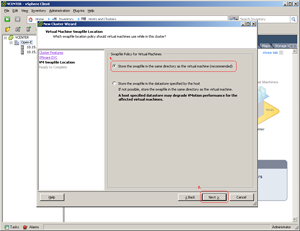 Click to enlarge.
- Now it is done.
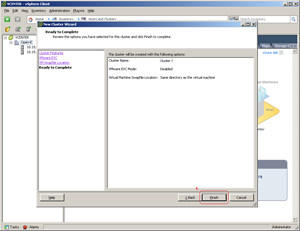 Click to enlarge.
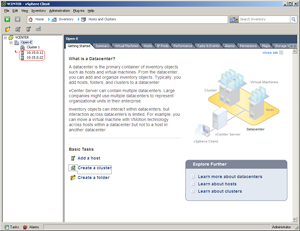
- Hosts are added, the cluster is created. Now is the time to put the hosts in the cluster. Just drag and drop it (1). Drag & drop is the most important functionality that will allow a substantial increase in usability and efficiency of work.
 Click to enlarge.
 Click to enlarge.
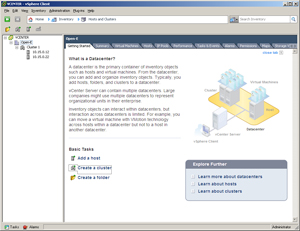
- The installation and configuration is now finished. You can add virtual machines to the cluster an move them between the hosts.
